How to Plan a Kitchen Remodel From Start to Finish
Nov/12/2026 48How to Plan a Kitchen Remodel From Start to Finish
A kitchen remodel is one of the most rewarding home improvements you can make. It transforms the heart of your home into a beautiful, functional space where your family gathers, cooks, and builds memories.
However, taking a kitchen from outdated to outstanding takes careful planning. If you skip steps or rush into buying materials without a clear roadmap, your dream project can quickly turn into a frustrating headache.
This guide breaks down the complete kitchen remodeling process into clear, manageable steps so you can approach your project with total confidence and get ready to bring in the pros.
Phase 1: Inspiration and Goal Setting
Before you touch a single tool or tear down a wall, you need to establish what you want to achieve with your new kitchen.
Define Your "Why"
Ask yourself why you want to remodel. Is your current space too small for your growing family? Are the cabinets falling apart? Or are you looking to update an old 1980s layout so you can sell your home for top dollar?
Knowing your core goal helps you prioritize where to spend your money:
- For home resale: Focus on high-impact visual upgrades like fresh cabinet doors, modern countertops, and energy-efficient appliances.
- For personal functionality: Focus on layout changes, deep storage solutions, and durable, easy-to-clean surfaces.
Collect Ideas
Start building a vision board. Save photos of kitchens you love from magazines, social media, and home design websites. Look for recurring trends in what draws your eye:
- Color palettes (light and airy whites, warm wood tones, bold dark greens)
- Cabinet styles (classic Shaker, sleek modern flat-panel, open shelving)
- Lighting preferences (pendant lights over an island, under-cabinet task lighting)
Phase 2: Setting a Realistic Budget
Your budget shapes every single decision you will make throughout the remodel. Being clear about your financial boundaries early prevents unwanted surprises later.
Determine Total Spending
A general rule of thumb used by home experts is to spend between 5% and 15% of your home's total market value on a kitchen remodel. For instance, if your home is worth $300,000, a standard full-kitchen budget ranges from $15,000 to $45,000 depending on the scope.
Break Down Your Budget Allocations
To keep your finances balanced, divide your overall budget into main spending areas:
- Custom or semi-custom cabinetry: ~30%
- Labor and installation: ~20% to 25%
- New appliances: ~15% to 20%
- Countertops and backsplashes: ~10% to 15%
- Flooring, lighting, and plumbing fixtures: ~10%
Set Aside a 20% Buffer Fund
Unplanned issues happen in almost every major home project. You might pull down drywall and discover outdated electrical wiring, rotting subfloors, or old plumbing leaks. By setting aside a 20% contingency fund upfront, you can handle unexpected repairs without stressing out or compromising on your design choices.
Phase 3: Choosing the Right Layout
The layout is the foundation of kitchen functionality. A great kitchen layout follows the classic "Work Triangle" concept, keeping short, unobstructed paths between the three main work zones: the sink, the refrigerator, and the stovetop.
Popular Layout Options
- The Single-Wall Kitchen: Ideal for smaller spaces or open-concept condos. It places all appliances and cabinets along one wall to maximize floor space.
- The Galley Kitchen: Features two parallel walls of cabinets and counters. Extremely efficient for cooking, standard in many classic homes.
- The L-Shaped Kitchen: Utilizes two adjacent walls. Great for adding a center island or opening up the room into a dining space.
- The U-Shaped Kitchen: Surrounds the cook on three sides with countertops and storage, providing maximum workspace and storage capacity.
Think about how traffic flows through your home. If your kitchen acts as a hallway during family gatherings, an island layout can help keep guests safely away from hot stoves and active cooking zones.
Phase 4: Material and Appliance Selection
Selecting your materials before demolition begins keeps your project running smoothly and avoids costly shipping delays.
Cabinetry
Cabinets are the visual centerpiece of your kitchen.
- Stock Cabinets: Pre-made in standard sizes. Affordable and fast to deliver, but offer limited customization.
- Semi-Custom Cabinets: Standard sizes with options for custom doors, finishes, and built-in organizers like pull-out spice racks.
- Custom Cabinets: Built entirely from scratch to fit your exact space dimensions and design vision.
Countertops
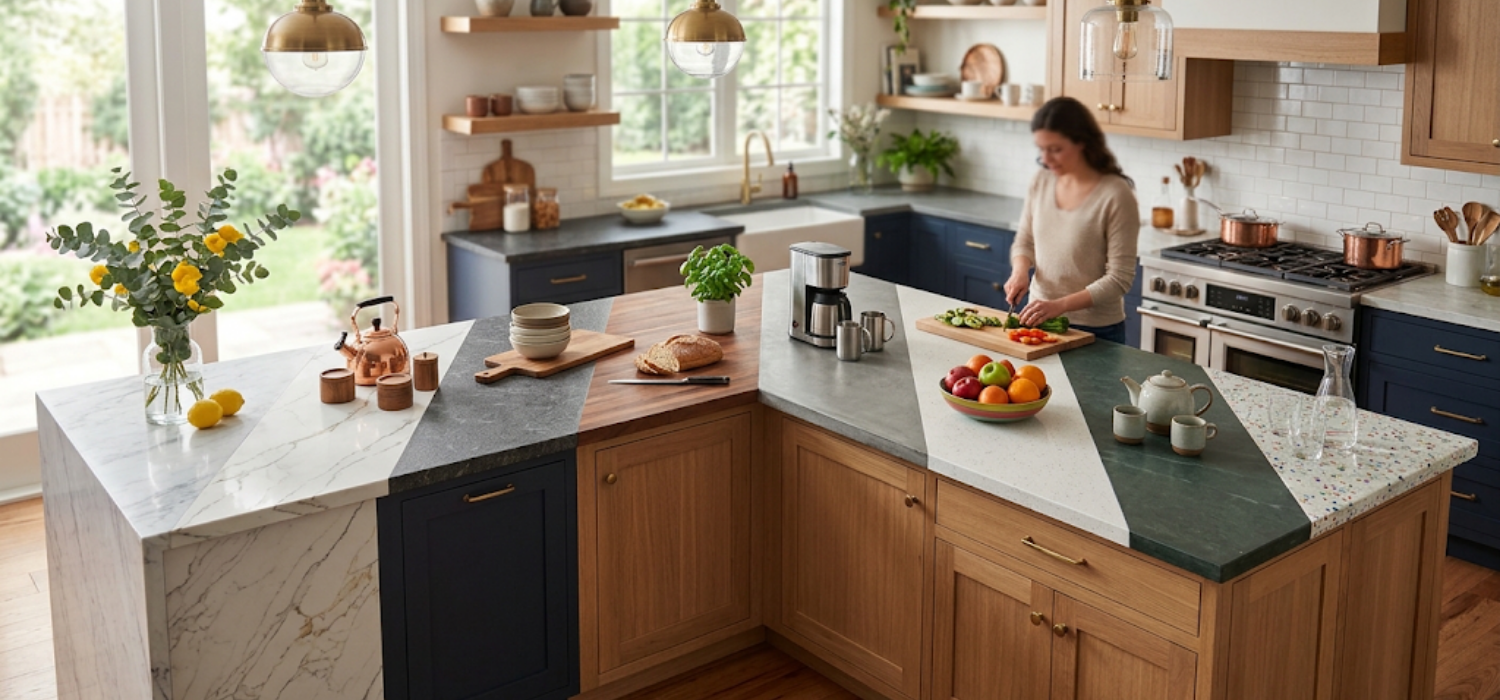
- Quartz: Engineered stone that is non-porous, stain-resistant, highly durable, and requires zero sealing.
- Granite: Natural stone offering unique patterns and high heat tolerance, though it requires periodic sealing.
- Butcher Block: Warm, natural wood that adds cozy texture, but requires regular oiling and protection from excess moisture.
Flooring
Kitchen floors handle heavy foot traffic, spilled drinks, and dropped pans. Water-resistant materials like luxury vinyl plank (LVP), porcelain tile, or sealed hardwood are durable options that stand up to daily mess.
Phase 5: The Vertical Spotlight (Maximizing Your ROI)
Different home improvement projects deliver different values depending on your focus:
- **Kitchen and Bath Remodels:** These offer the absolute highest return on investment (ROI) for home resale. Buyers focus heavily on updated kitchens, meaning money spent here translates directly into added property equity.
- Roofing: Don't wait for a visible ceiling leak to take action; a 20-year-old roof is a ticking clock that can ruin a brand-new kitchen interior if water intrudes.
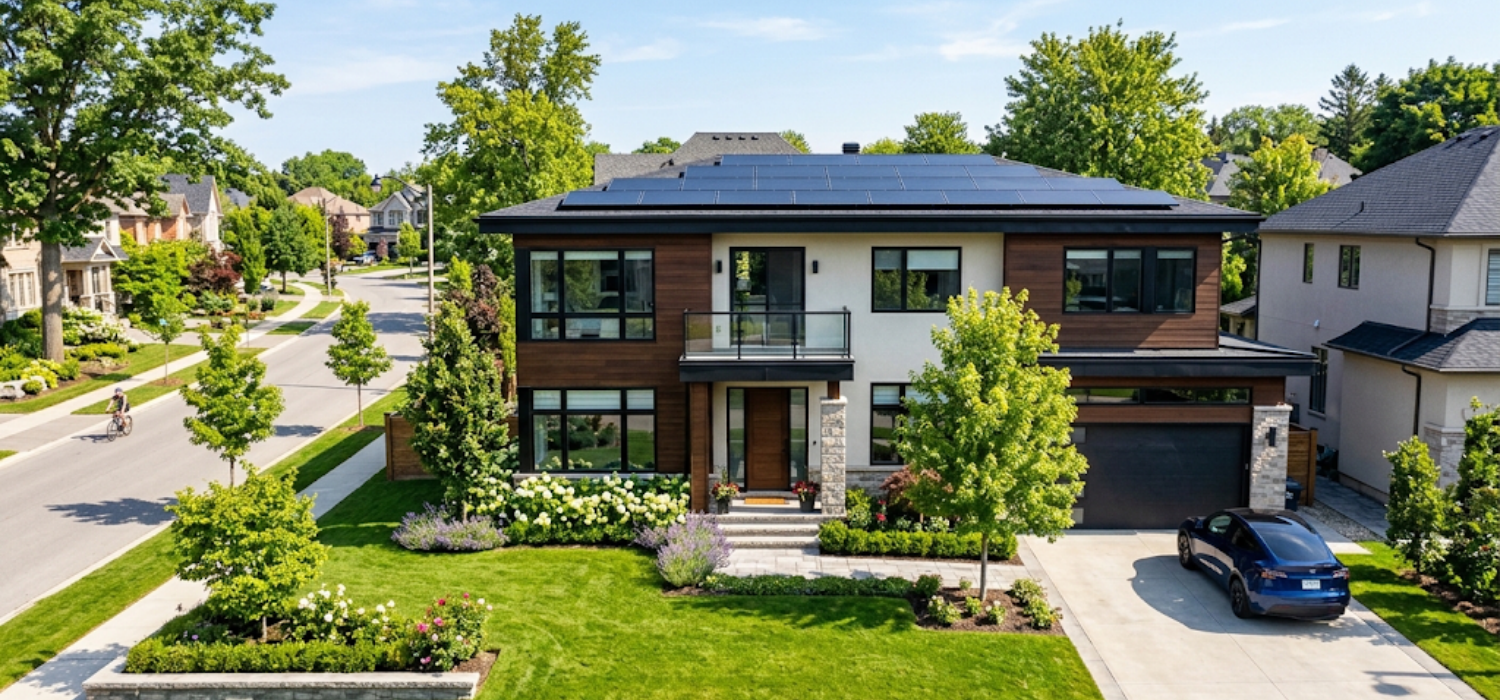
- Solar Upgrades (NJ & MA Focus): State-specific incentives and rebates in New Jersey and Massachusetts make 2026 the ideal year to switch to solar, offsetting your home's total energy costs so you have more budget for interior upgrades.
Phase 6: Hiring the Right Contractor
Even the best materials will look subpar if they are installed poorly. Finding a reliable, experienced contractor is the single most critical step in bringing your vision to life.
What to Look For in a Local Contractor
- Proper Licensing & Insurance: Ensure your contractor carries general liability and worker’s compensation insurance.
- Clear Timeline Commitments: A professional builder provides a detailed schedule outlining milestones from demolition to final walkthrough.
- Detailed Written Contracts: Never rely on verbal agreements. Ensure every item, cost breakdown, warranty detail, and payment schedule is documented in writing.
Phase 7: The Demolition and Construction Walkthrough
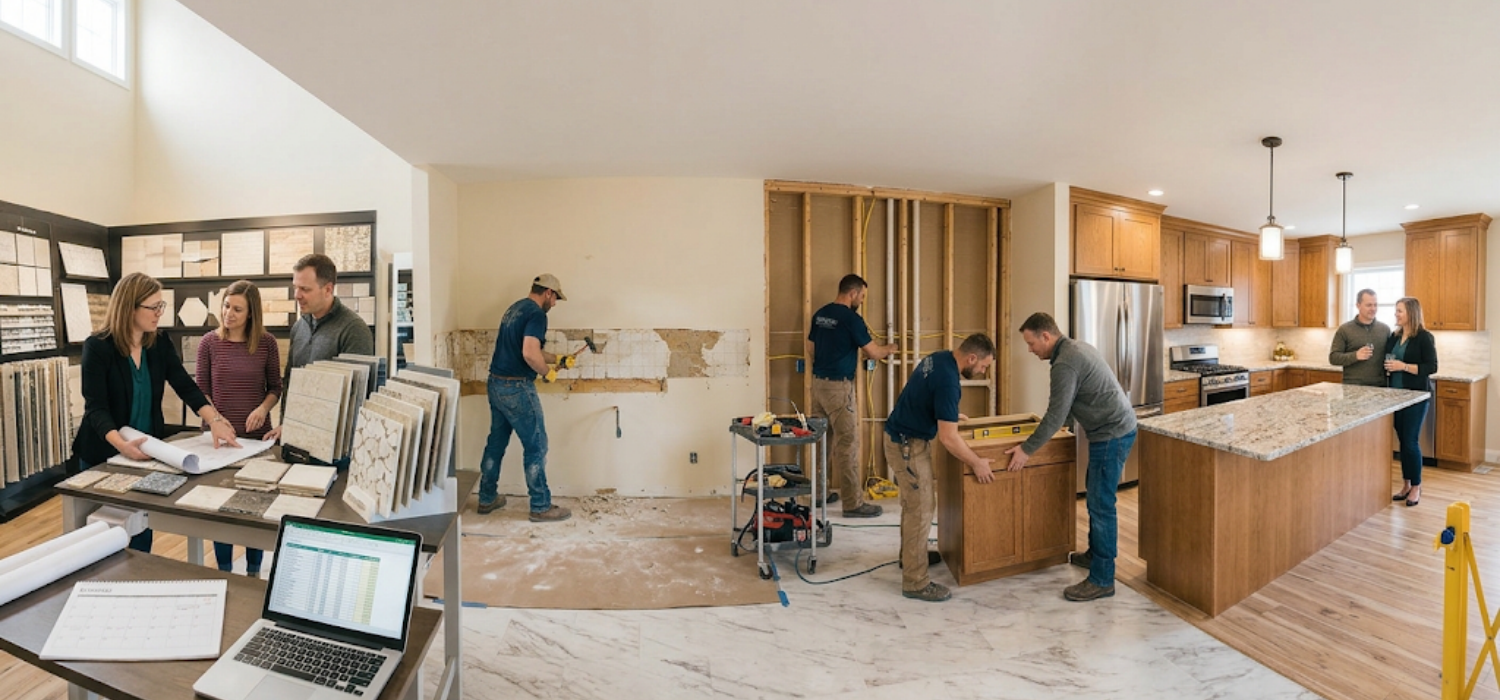
Once your permit applications are approved and your contractor arrives, the physical work begins in clear stages:
- Demolition: Safely removing old cabinets, appliances, flooring, and unwanted walls.
- Rough-in Work: Running new electrical lines, plumbing pipes, and HVAC ductwork behind the open walls.
- Drywall and Painting: Closing up walls, applying smooth finishes, and painting initial coat layers.
- Cabinetry and Countertop Installation: Mounting base and wall cabinets precisely level, followed by template measuring and installing heavy countertops.
- Fixture and Appliance Hookups: Placing sinks, faucets, dishwashers, ranges, and trim details.
- Final Punch List Walkthrough: Inspecting the completed space alongside your contractor to ensure every detail matches your standards before releasing final payment.
Don't Guess Your Project Cost
Ready to start planning your dream kitchen upgrade? Getting accurate, fair pricing from dependable professionals doesn't have to be confusing or stressful.
Our 101-point contractor network vets the best local pros in your area so you don't have to spend hours researching background checks and reviews.